Create a Space
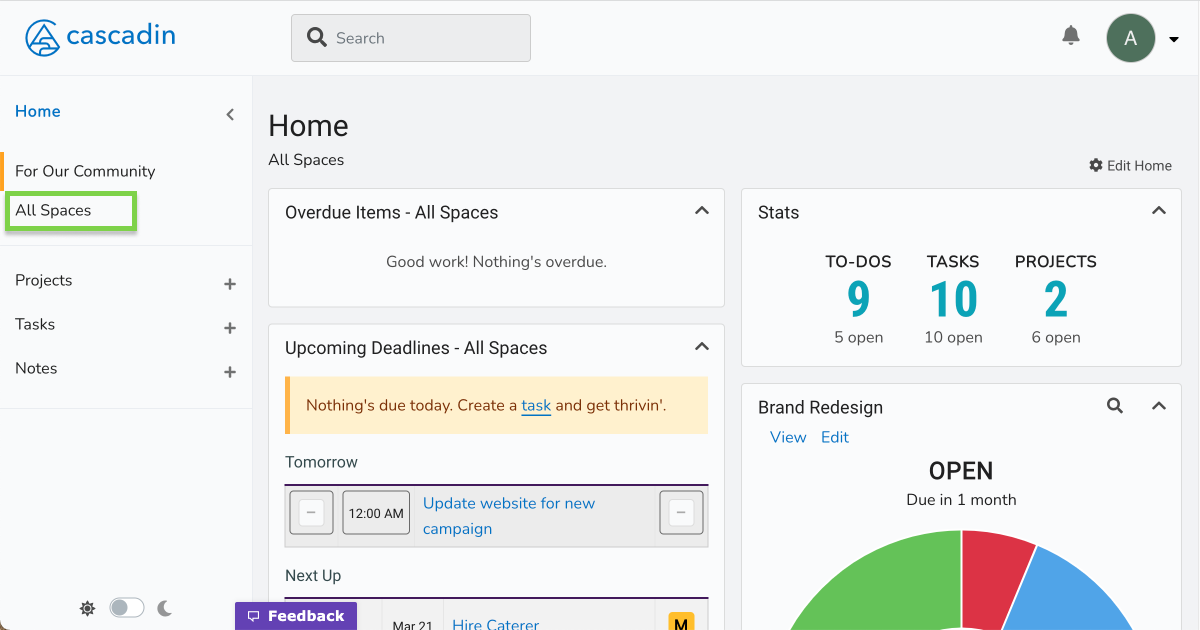
Step 1: Go to All Spaces
You can create as many Spaces as you need. To create one, select “All Spaces” from the left navigation panel.
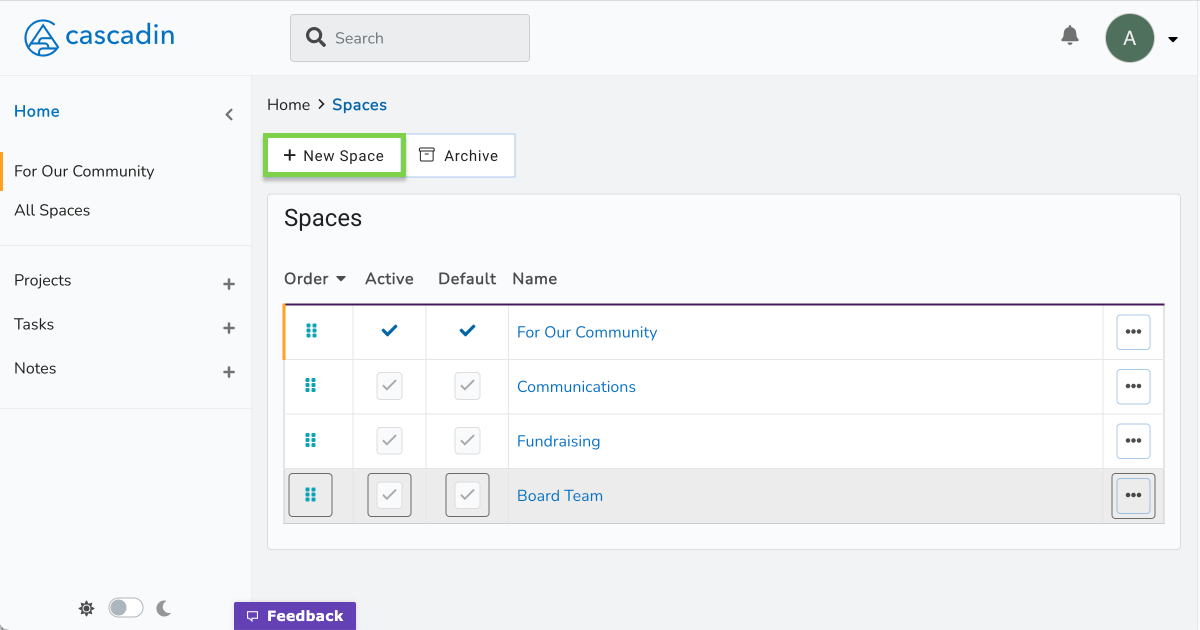
Step 2: Add a new Space
Select the “+ New Space” above the list of all your current Spaces.
Step 3: Name the Space
The only requirement for creating a Space is giving it a name. We recommend keeping it short.
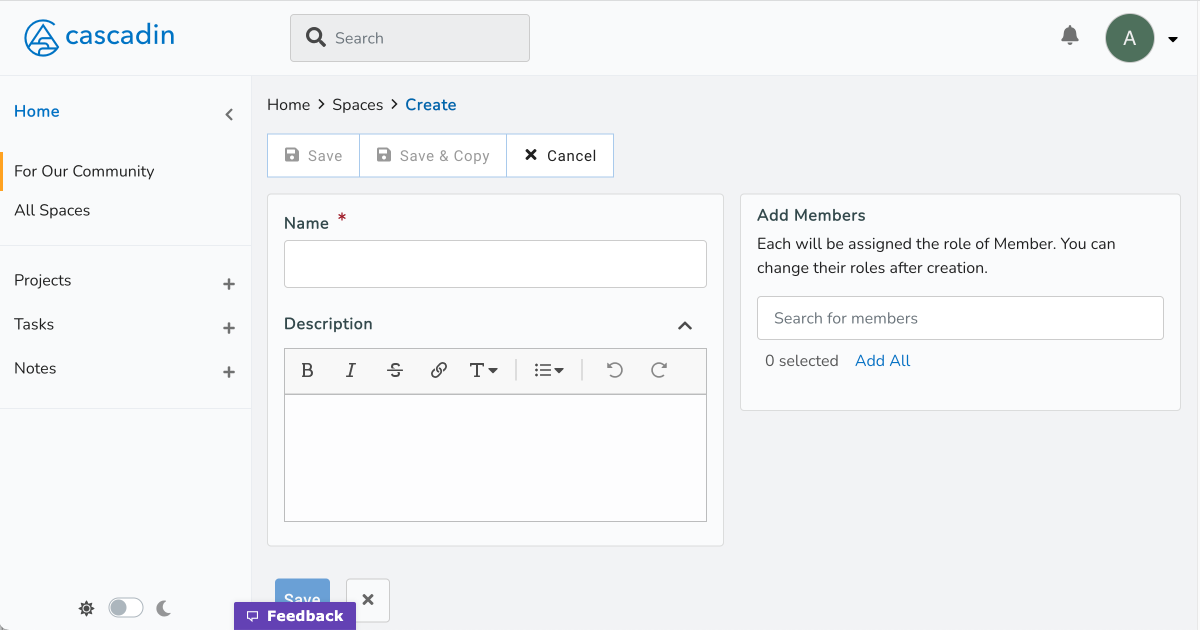
Optional: Add a Space description
You can also add a description to help you remember what you’ll be organizing, tracking, and documenting in this new Space. A description can also be helpful if you’re adding team members to this Space.
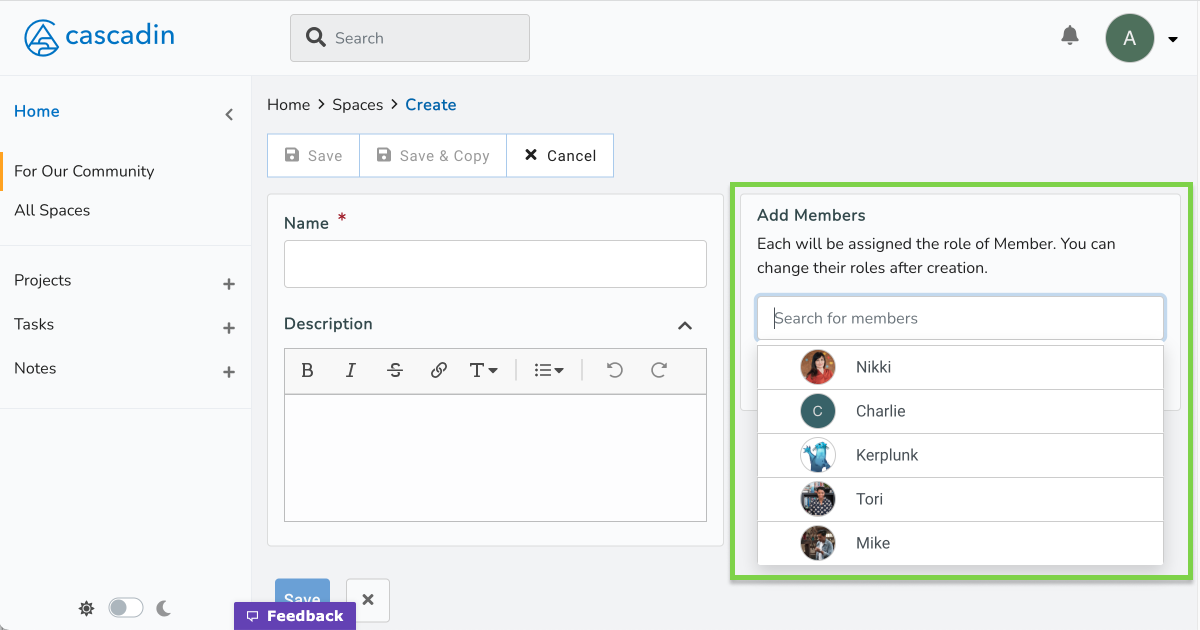
Optional: Add team members
If you’re working with others in your new Space, you can add them to the Space when you create it. They’ll be added as a “Member” to the Space, and you can always change their role later.
Once you’ve added all the details and members if applicable, select “Save” at the bottom of the screen. Your new Space will be added to your list.